Clacky clacky clacky, I’ve joined the mechanical keyboard gang, and of course I was always going to roll my own. My old keeb has seen better days, it was a cheap imitation mechanical by Rii that I picked up a couple of years ago when my old, old keyboard no longer seemed like a viable option. It was a genuine antique at this point, an old PC/AT keyboard with some kind of DIN connector that had to be plugged in via a ps/2 adapter. A vintage minted circa 1998 if memory serves. It might actually be mechanical too, it’s hard finding details, potentially a rubber dome inside an imitation ALPS switch. There may even be a project in restoring it, if I can find some keycaps that fit the odd ALPS-like switch I will, but initial investigations haven’t been positive, don’t hold your breath. I was primarily a laptop user and the time and the keyboard was used infrequently, occassionally something went wrong with the SSH server on my NAS and I needed to do something directly so I’d pull it out of storage, but generally it only saw light use.
Fast forward 3 years and in the middle of the UK’s first lockdown the cheap and cheerful little keyboard got pressed into daily use for 2 years when I built a new PC to make working form home less of a chore, 2 years after that and it’s looking a little worse for wear. The legends are disappearing and I get the occassional double press wwhen I strrike a key. It was time for a new keyboard. After discovering they existed a few years back I’ve slowly developed a bit of a hankering to go mechanical, the hype seemed reasonably justified but the boards themselves aren’t cheap and I wanted a little bit more of a challenge than just swapping out some keycaps. There are a few options out there and honestly some very attractive keyboards, but with a GMMK PRO starter kit coming in at ~£150 without switches or keycaps I was going to need another option. KBDFans have some nice boards that are a little more in my price range, but inevitably all affordable roads lead to AliExpress.
Some searching and thinking and then more searching got me to the point where I decided an XD87 TLK style keyboard would be the best option. I’m a little bit tentative about removing my numpad but I can always follow up with a separate numpad project if it really bothers me, a week into the new keyboard I’m not sure I’ve noticed. After initially thinking I might build a case out of wood, source the perfect switches and injection mould some custom keycaps I eventually went for the full XD87 kit in the hopes of actually completing the project and having a fully functional keyboard.
Given I’m using it now it was probably the best option. I went for a hot-swappable version because:
- I’ll procrastinate indefinitely when it comes to soldering the board together.
- I was still a bit nervous about clicky blue switches, so I wanted the option to swap them quickly if I hated them, refer again to item 1.
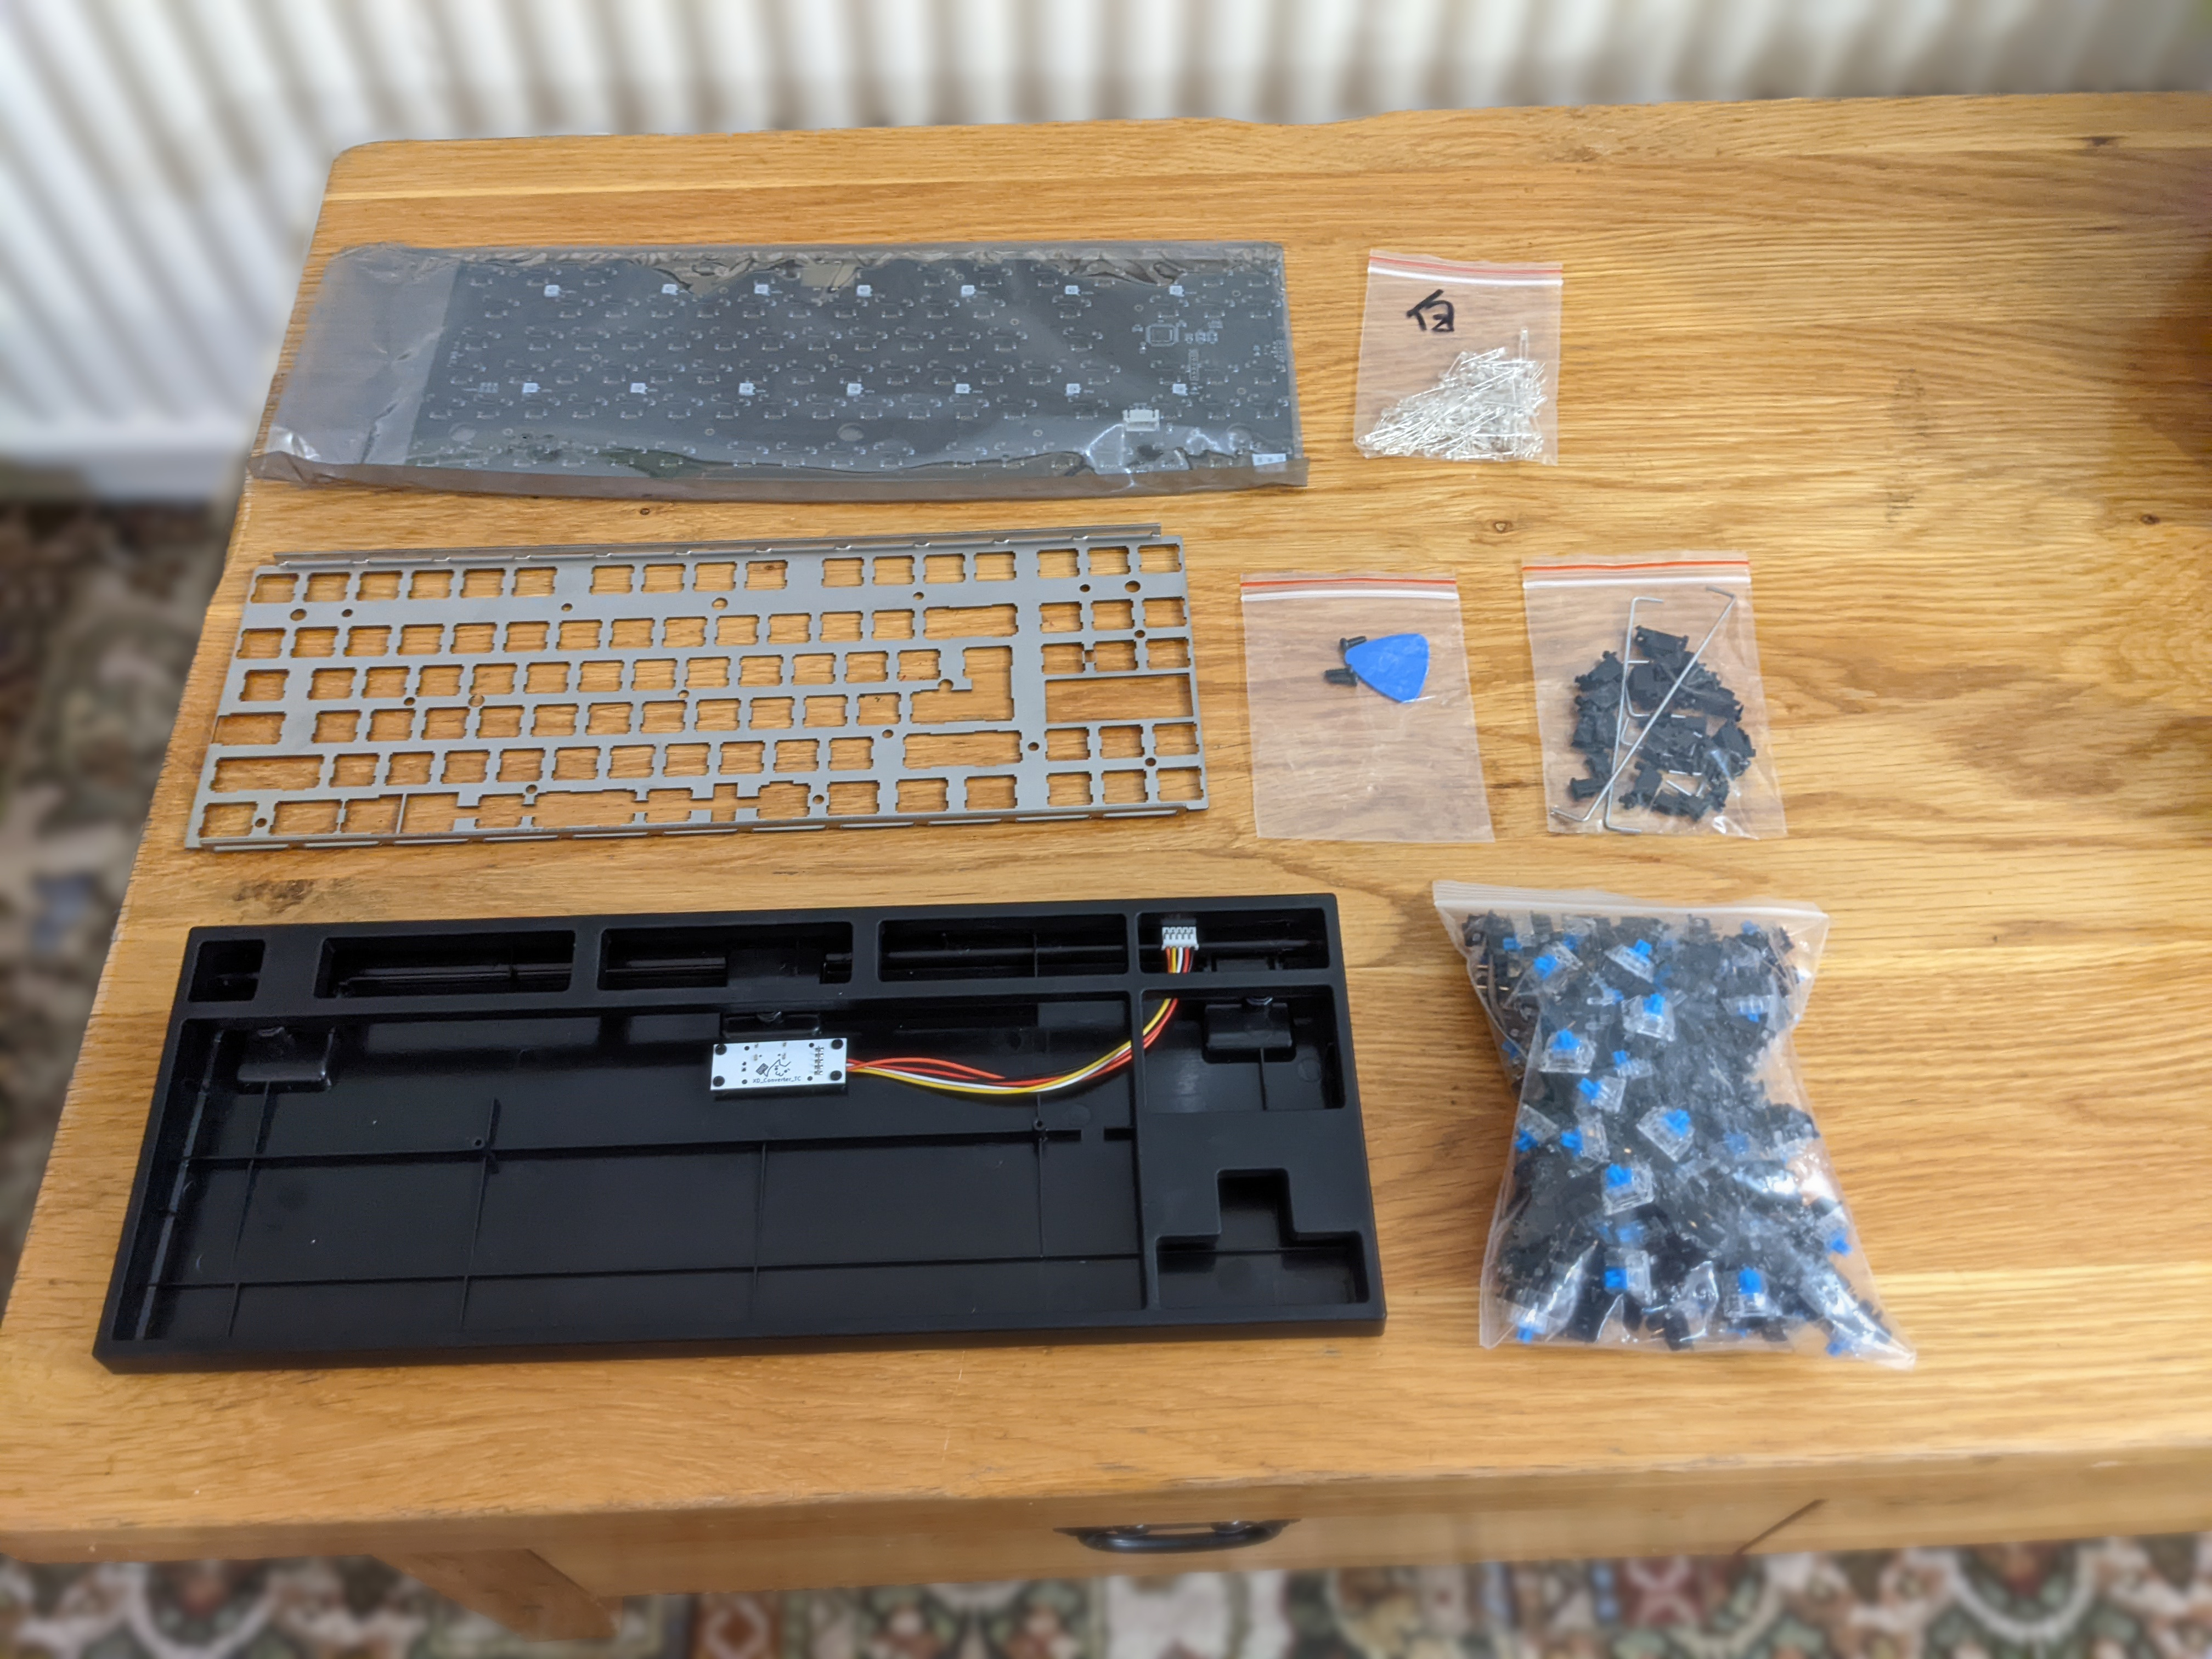
The kit comes with a case, stabilizers, a steel plate, the PCB, switches of your choice, a pre-installed USB module and some LEDs that can be soldered in (thankfully optional). They have a few kits with varying levels of equipment included, so maybe I will make a walnut case with purple switches and custom moulded keycaps some day (who am I kidding, I’ll make the PCB too :p)
The next job was to source some keycaps, that’s a whole other world of research, colour schemes aside, there’s a whole range of profile types and materials, even some profiles that aren’t compatable with switches installed in a certain orientation (OEM profile keycaps in a south oriented switch don’t work for reference).
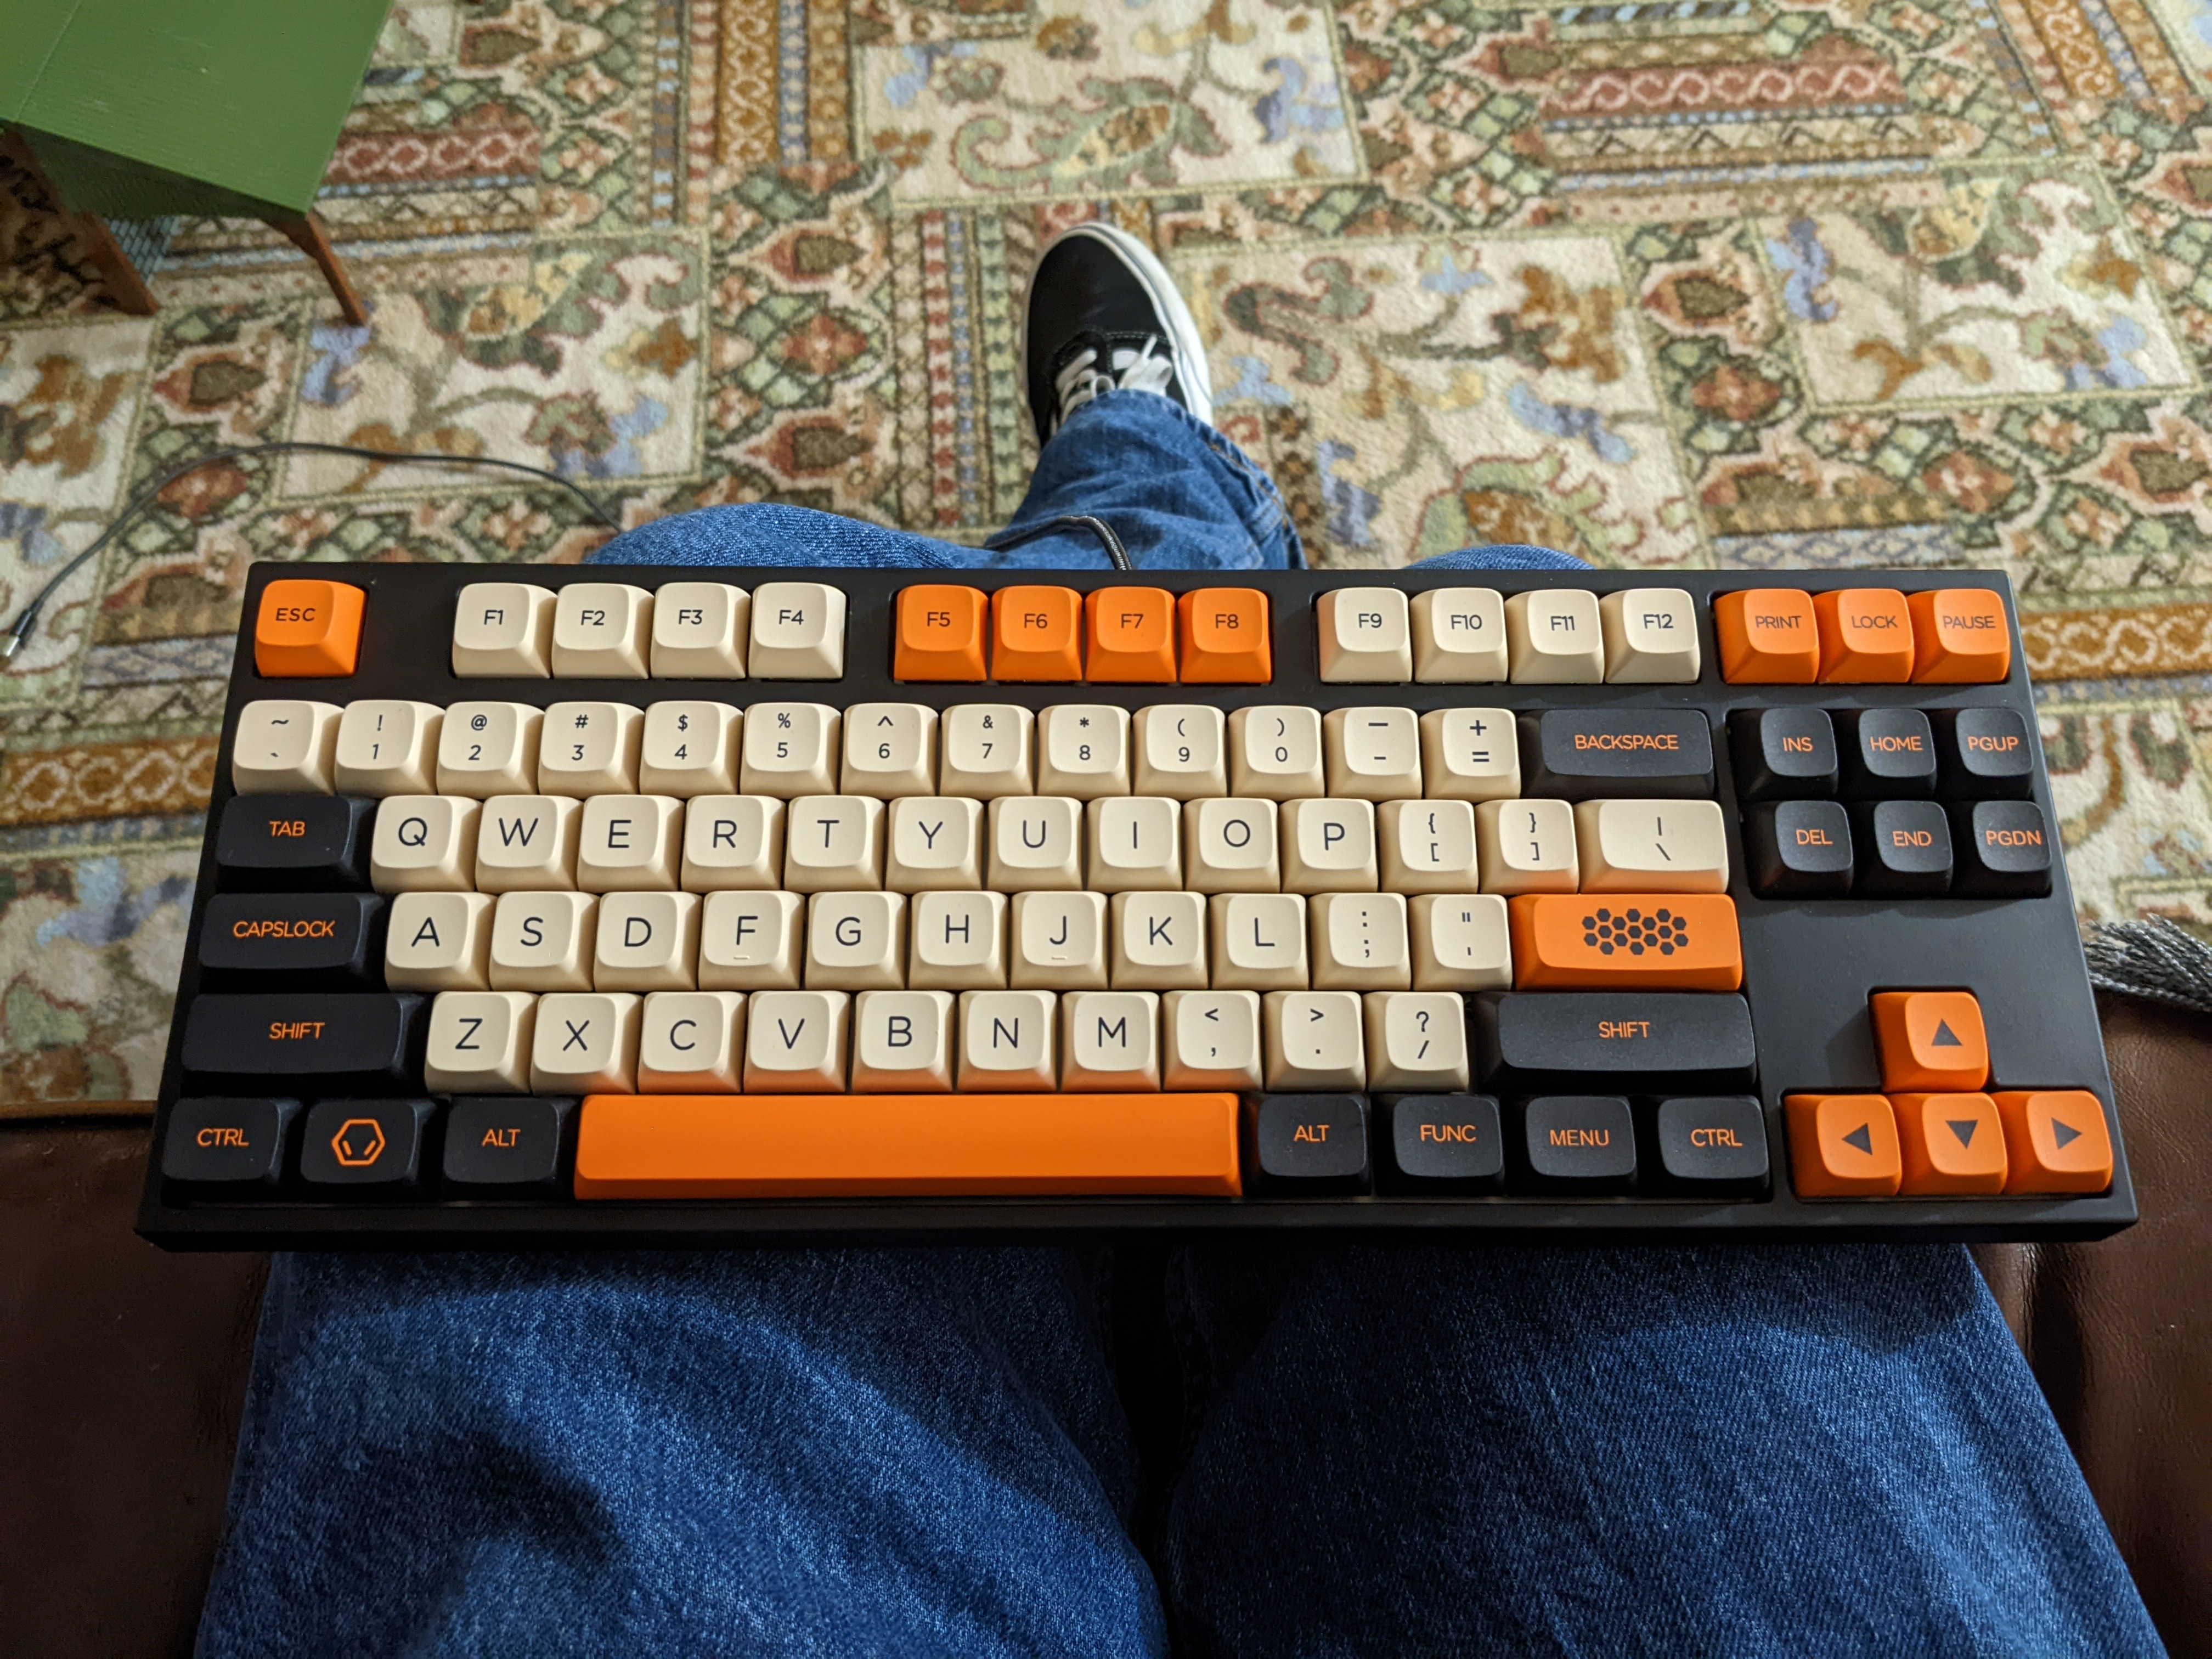
I subbed to /r/MechanicalKeyboards and tried to absorb as much of the aesthetic as I could, I’d highly recommend that approach so long as you have some measure of self control, there are some very talented designers out there who make some very nice (and expensive) keycap sets. I plunked for a “Carbon” colour scheme in PBT with an XDA profile, it’s evoking memories of the BBC Micro we got to play with in Primary school and, well, I just like orange. They’re pleasing to my eye and honestly quite pleasant to tap, I can see why people get sucked into this.
With everything in place it wasn’t the most complicated assembly job, but credit to LouWii his guide kept me on the straight and narrow. The stabilizers were the only really non-obvious part and this youtube guide helped a lot, though if you’re patient there is an obvious way that everything fits together nicely. One piece of advice when you’re pushing the stabs into the board, check if there’s a little hook that goes under the PCB, if there is, make sure it’s hooked under the PCB. If you don’t they won’t sit flush on the PCB and you need to take them off again and you’ll feel like you’re going to break something the entire time. Ask me how I know that.
With that done I placed the steel plate over the top and located it with switches in all four corners. Pushing the switches is an easy job with the hotswap PCB, there’s really only one way for them to go, though make sure the pins are straight before you start, they’re not all as straight as you’d like and go gentle, they do bend easily. From that point I just worked my way along the rows until it was done.
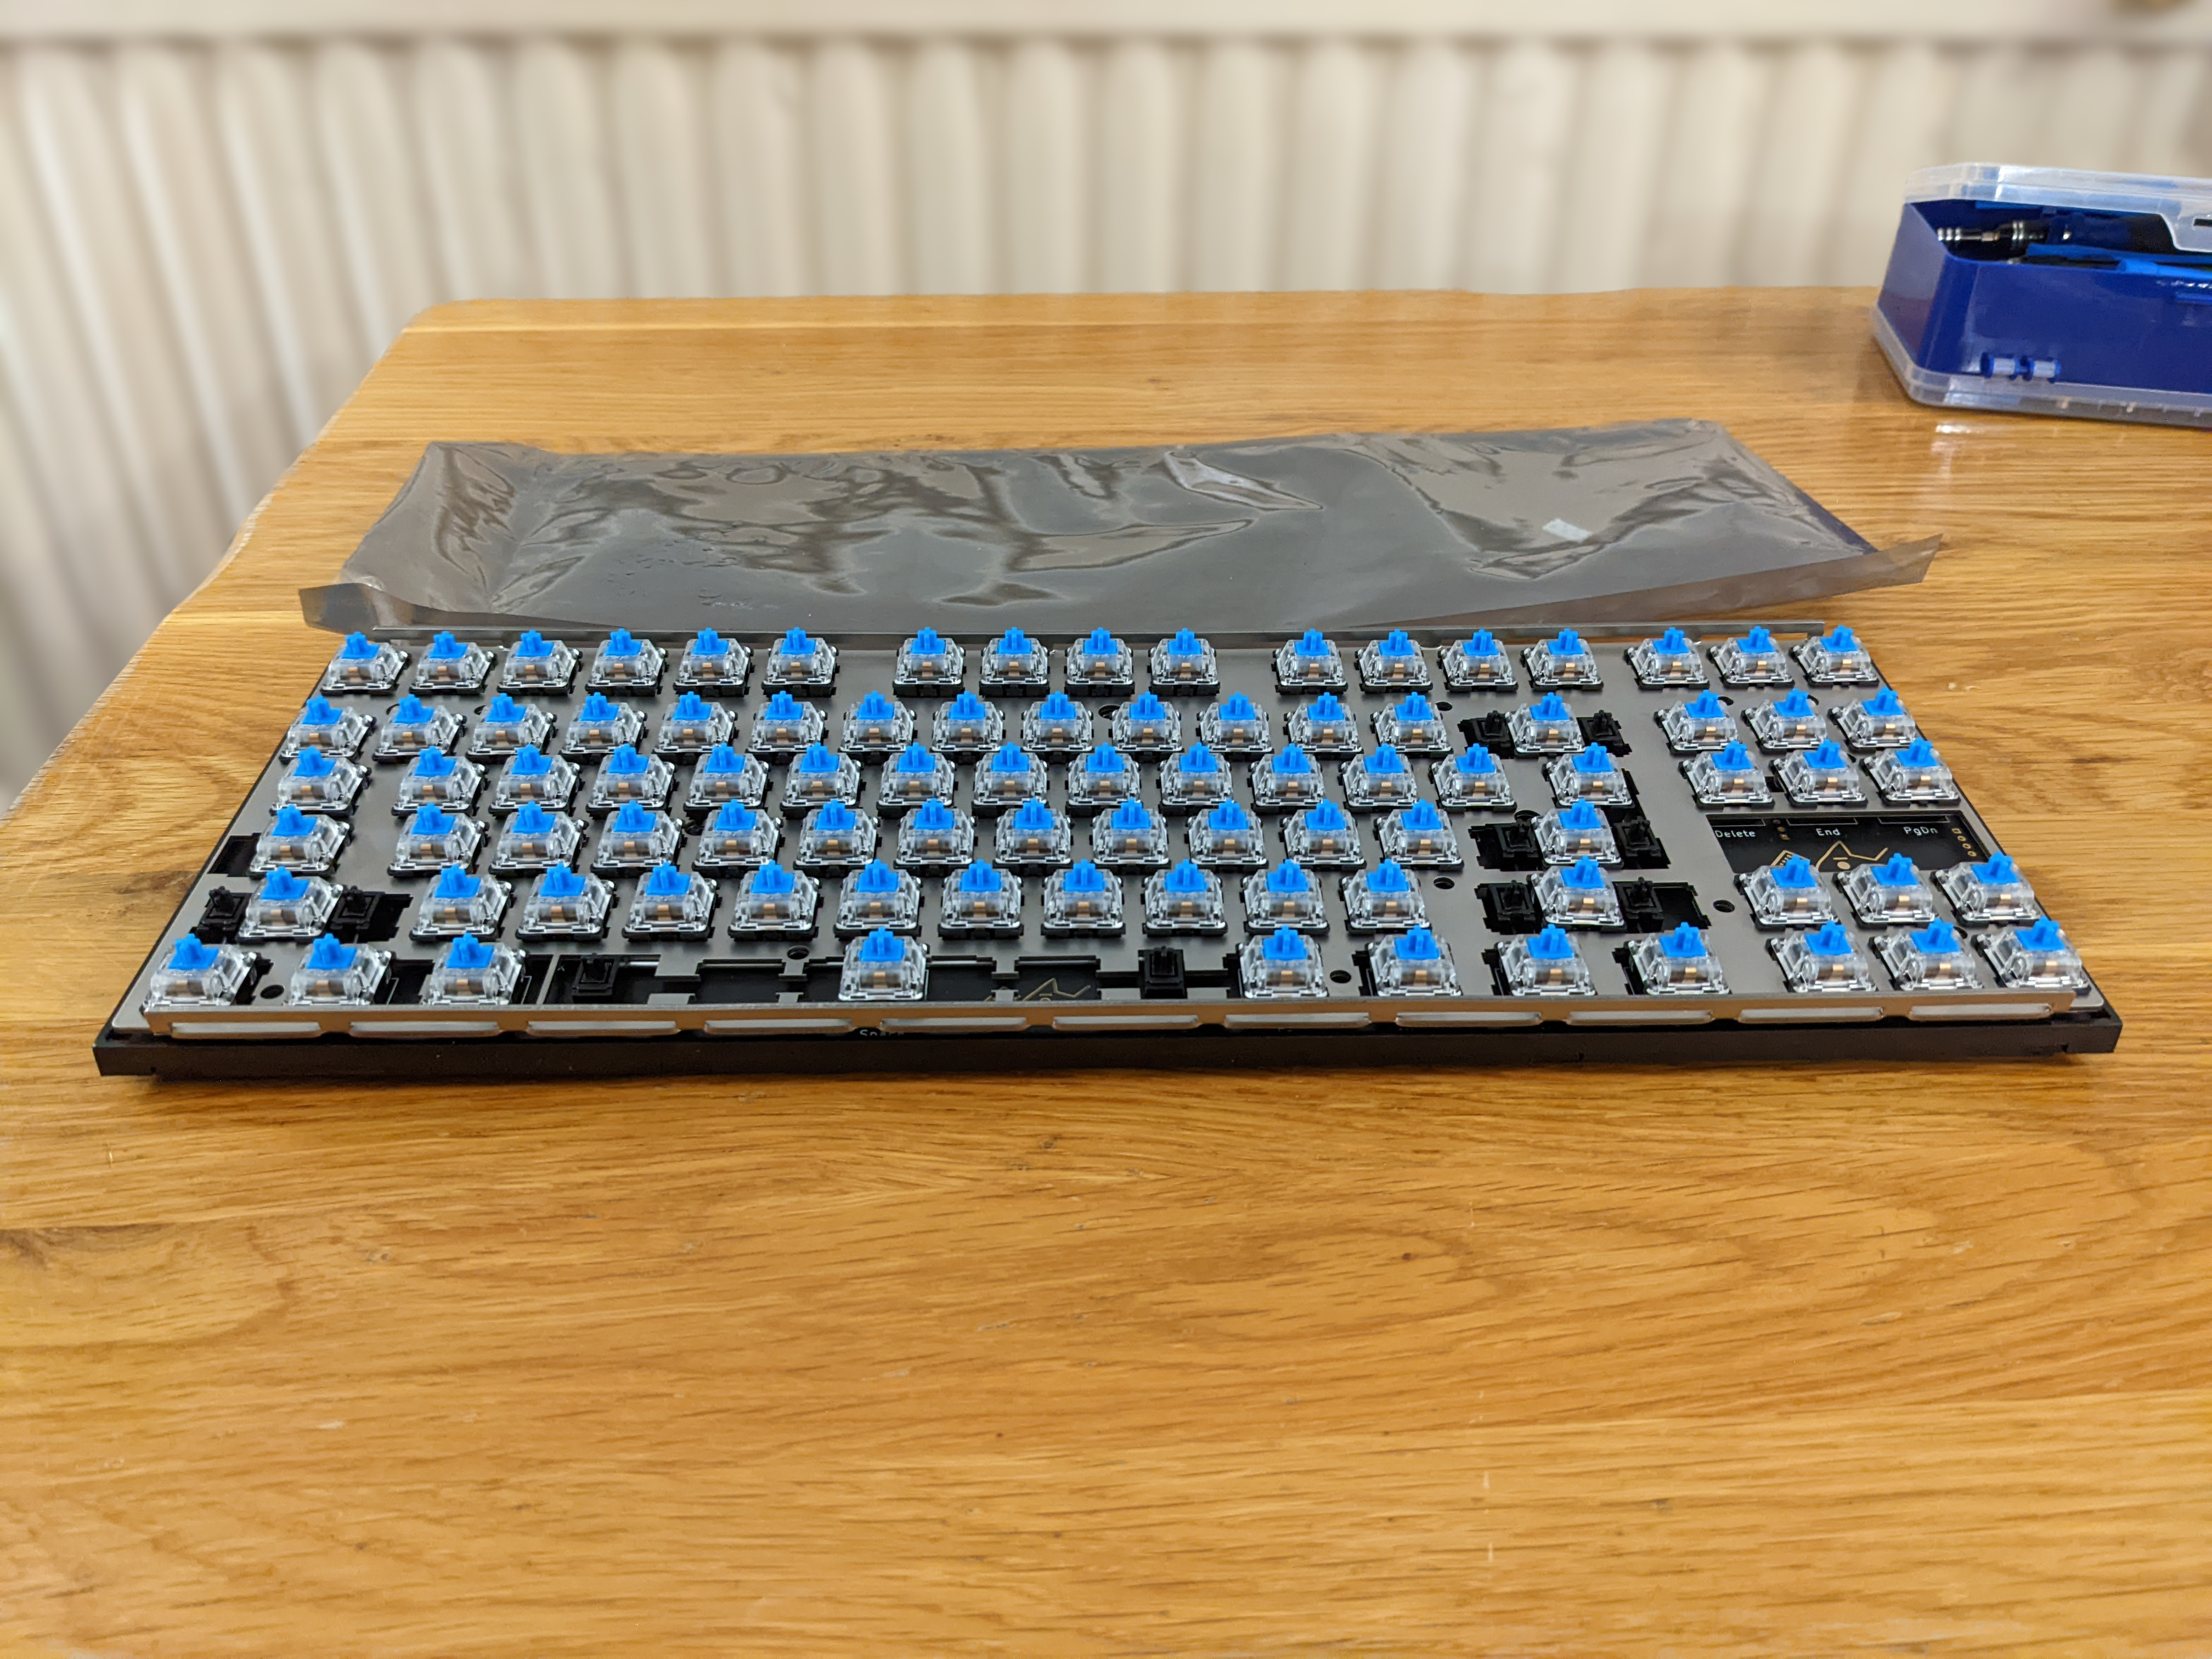
For sure the plate was not parallel to the PCB over the whole width of the board and when I straightened it it bent the PCB, I might revisit this at a later time, I do intend to go in again and replace the stabs at some point anyway, I’ve been told any aftermarket stabilizer is a significant upgrade. The next step was to use a little tab tool to pop the tabs and separate the top and bottom of the case, insert the JST style connector from the USB module into the PCB and then slip the PCB assembly into place in the bottom part of the case. Once it’s in you can flip the case over and secure it in place with the three supplied screws. Nearly there, flip it back over and press on the top half of the case until the tabs all click into place. One or two of the tabs took a little more force, but honestly it wasn’t too bad, I’ve seen worse on “premium” laptop cases.
The final step was put the keycaps on, it’s really just a case of ‘plus shape’ into ‘plus shaped hole’. The only real issue here was figuring out which key went ejrtr where. Oh and some of them have the same name, but wider and narrower versions, looking at you FUNC.
A little while later I had a complete keyboard and I honestly love it. It clacks away in a very satisfying manner, I’m a total convert, I had to go back to old keyboard while I was setting up a raspberry pi and it just feels spongy by comparison. The noise isn’t irritating me yet, but Jen tells me it’s loud. It’s a pretty solid bit of kit all round and has a bit more heft than I truthfully expected going in. It rocks a little bit when the feet aren’t extended but not so much as I would notice unless I was testing for it and the spacebar is a little spongy. I’m semi used to it already, but I’m hoping a new set of stabs fixes that. The hotswappable version limited me to an ANSI layout, so I’m learning a new layout, it isn’t the worst but I’m still getting “ and @ the wrong way round on a regular basis. I’m probably missing the £ key more than anything, the plan at the minute is to add a function layer on the 3 key but I think it’s good enough for now. And with that my first project of 2022 is done.